
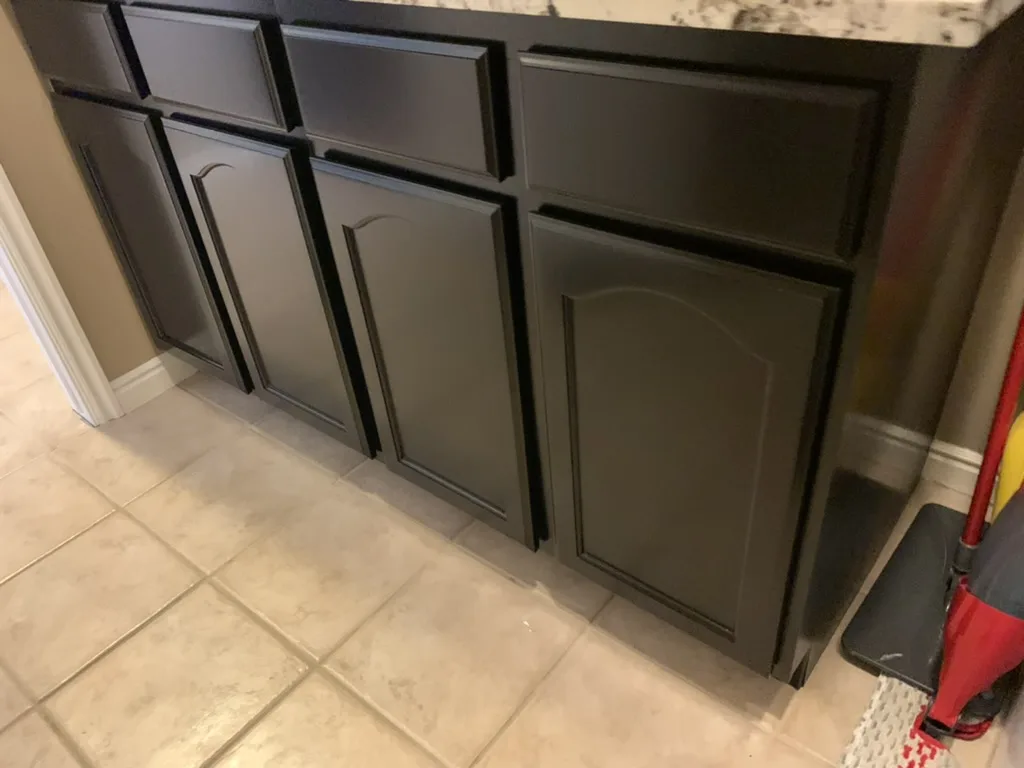
A cabinet color chosen for your actual kitchen
Cabinet painting offers a direct way to change the visual weight of a kitchen without automatically replacing the cabinet boxes. A light color can soften a room with dark flooring; a deeper color can give an island a distinct role. The useful question is how the proposed color works with your counters, backsplash, appliances and daylight. White Fox Cabinets offers cabinet painting with a smooth spray finish. Begin by describing the room you have, the elements that will remain and the appearance you want to achieve.
Paint is an opaque finish, so it changes the visible color rather than highlighting the wood's natural tone in the way a stain can. It does not erase every feature of the underlying cabinetry. Door profiles, panel joints, grain texture and the existing construction still influence the result. If your main objection is the shape of the doors, a new color may not address it. Comparing painting with replacement doors and drawer fronts helps you choose the service that actually fits your goal.
Check the surface before choosing the coating
A cabinet assessment should identify the material and the condition of the existing finish. Solid wood and veneer behave differently from laminate or other manufactured surfaces. Previously painted cabinets may have several layers with different adhesion or texture. Cabinet sides can also be made from a different material than the doors. A suitable preparation and coating plan accounts for those differences rather than treating every visible surface as the same substrate.
Look closely at the areas that receive repeated contact. Drawer edges, handles, sink-adjacent doors and cabinet corners often reveal wear that is less obvious from across the room. Peeling coating, water-related swelling and loose material need attention before a finish is selected. Painting over an unresolved problem can leave the defect beneath the new color. Include close-up photographs of these areas when requesting an estimate, while understanding that photographs cannot replace an assessment of the actual surfaces.
Preparation makes the finish possible
The painting plan begins before color is applied. Cabinet surfaces need appropriate cleaning so residue does not interfere with the coating. Preparation of the existing finish may involve sanding or other treatment suited to the material and selected products. Agreed repairs should be considered at this stage, including dents, worn edges and holes from hardware that will be changed. The work needed depends on what is present, not on a universal checklist that guarantees an identical result on every cabinet.
Discuss doors, drawer fronts and fixed surfaces separately. A project can include face frames, exposed ends and toe kicks, while cabinet interiors may have a different scope. Door backs also need an explicit decision. Knowing which surfaces are included avoids a mismatch between the color you expect to see and an area left in its original finish. Ask how removable components will be identified and handled so they return to the correct positions.
Understanding a smooth spray finish
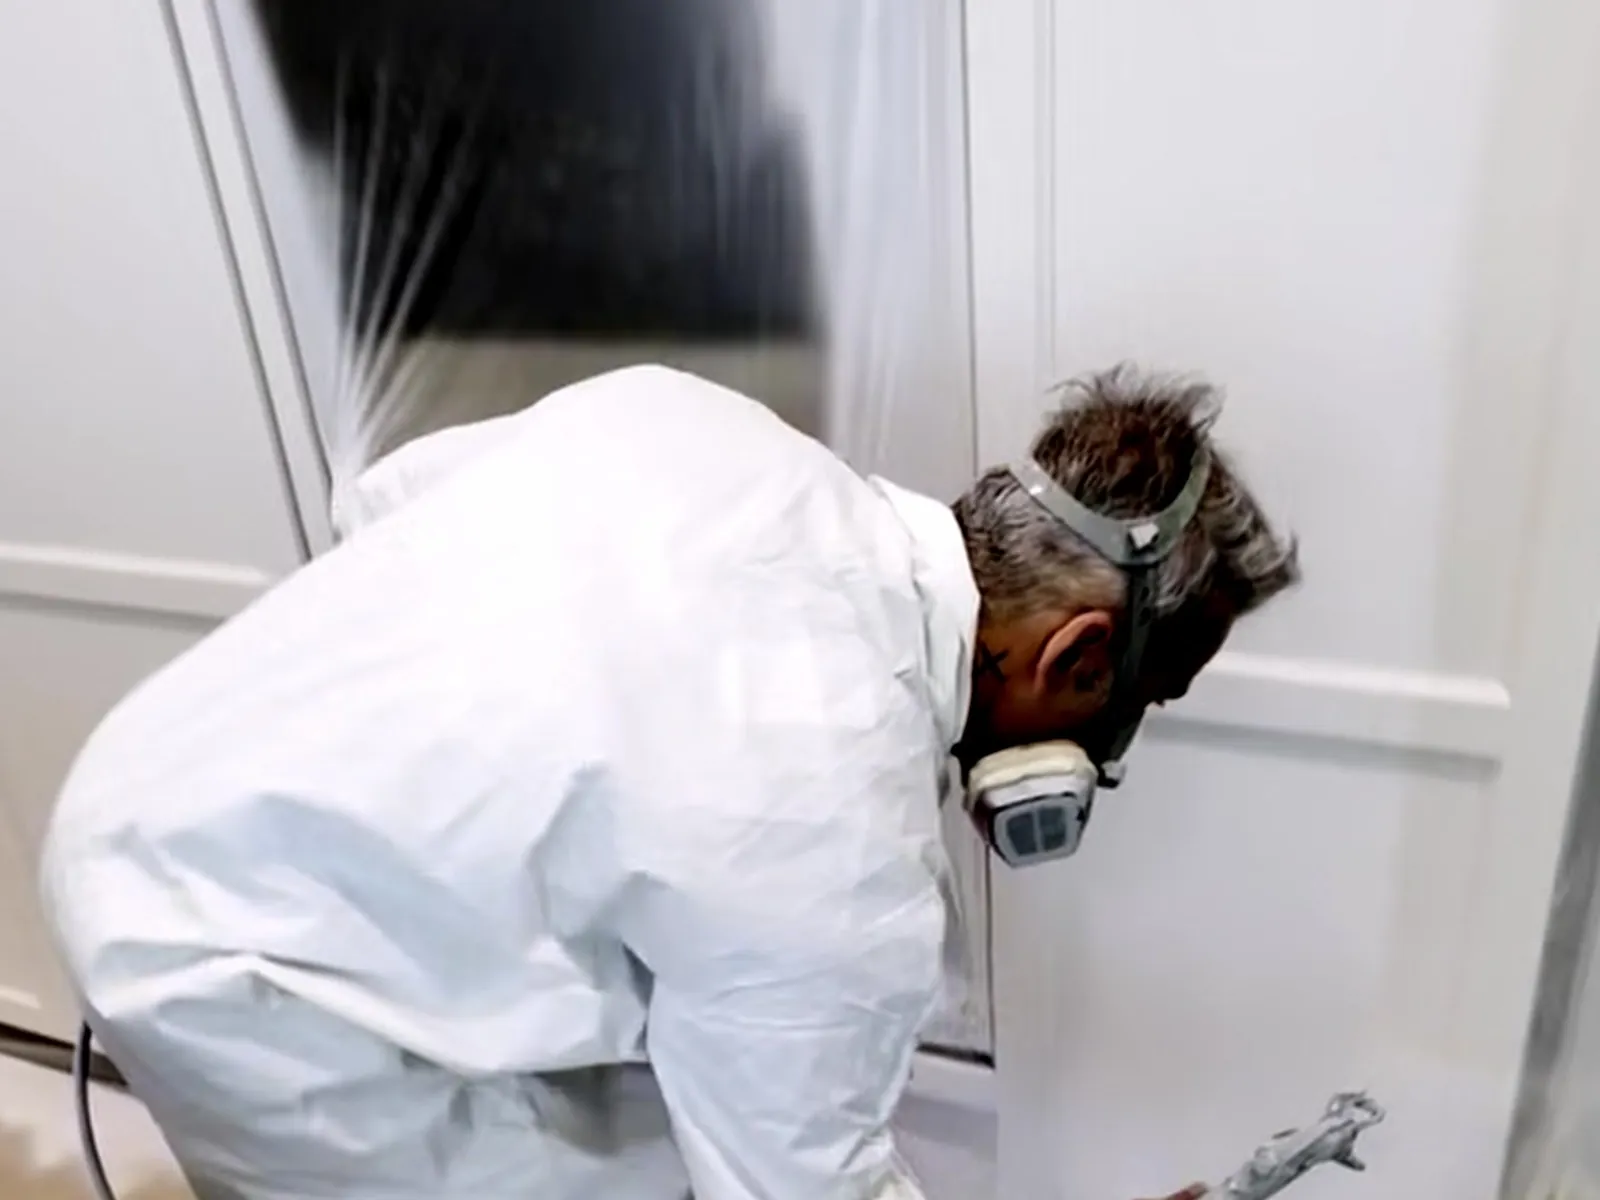
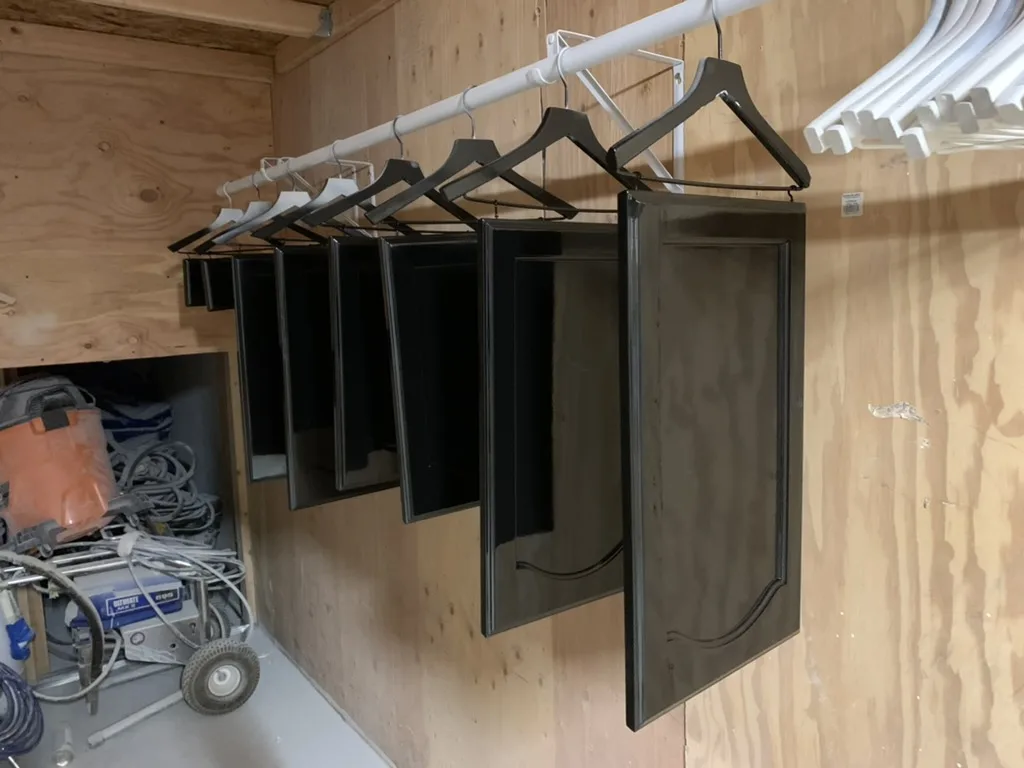
Spray application is a method of applying the selected coating. The result also depends on preparation, product compatibility, the underlying material and the agreed finish appearance. A sample helps establish expectations about sheen and texture. Look at it from the angle you normally see your cabinet doors rather than only straight on. Under-cabinet lighting and windows can make slight texture differences more apparent than a photograph does.
Discuss how the room will be protected, where each stage will take place and which areas need to be cleared. Counters, appliances and floors are part of the surrounding space, even though they are not the surfaces being painted. The handling plan should explain how the work affects access to the cabinets. Keep the project conversation specific to your home and its scope instead of relying on a promised schedule that has not been assessed.
Pick a color with the fixed materials in view
Compare paint samples beside your actual countertop and backsplash. Whites can have warm, cool or neutral undertones, and an existing cream tile may look different next to a cooler cabinet color. Dark colors also change with light: a sample can appear almost black in shadow while showing its color near a window. Review both daylight and the lighting you normally use in the evening before making the final selection.
If you want two cabinet colors, decide where the change belongs. An island, a tall cabinet run or lower cabinets may create a clear division, but the surrounding room should guide the choice. Include the visible end panels and trim in the color plan so the transition feels deliberate. A cabinet design consultation can help connect those decisions with hardware, finish and layout. Design discussion is a service to request; no complimentary design package is assumed.
Plan hardware changes before painting
Replacing a pull with one that uses the same hole spacing can be a different project from changing a knob to a long handle. New positions may require old holes to be filled before finishing and new holes to be drilled afterward. Hinge choices also affect fit and what is visible. Decide which components will stay, which will change and whether the new hardware is compatible with the door construction.
Consider how the hardware feels as well as how it looks. Fingers need enough space behind a pull, and neighboring drawers need clearance when opened. A handle near an appliance or corner may create an unexpected collision. Test the intended placement on the actual cabinet arrangement. Coordinating painting and hardware decisions prevents the finish plan from overlooking a detail that becomes obvious only after the doors are back in use.
Care and everyday use after painting
Drying and curing are not interchangeable. Follow the instructions supplied for the finish used in your project, including how to handle newly finished doors and when cleaning is appropriate. Choose cleaning methods based on those instructions rather than using an abrasive pad because it worked on the old surface. Pay attention to moisture around the sink and wipe up splashes in accordance with the finish guidance.
When you request an estimate, describe the cabinet layout, material if known, existing color and desired direction. Mention peeling or damage, planned hardware changes and whether interiors are part of your expectations. If you are still deciding between a painted color and a wood-toned finish, read our Cabinet Refinishing page. If the room needs changes beyond appearance, our Kitchen Remodeling and Bathroom Remodeling pages help organize the broader conversation.
Cabinet Painting questions
Can I choose any cabinet color?
White Fox offers cabinet painting in your chosen color. Review a representative sample in your room and confirm the coating, sheen and material compatibility before finalizing the selection.
Does paint hide the wood grain?
An opaque color covers the wood tone, but grain texture can remain visible. Discuss the species, preparation and sample appearance so the finish expectations match the actual cabinets.
Are cabinet interiors included?
They should be specified in the project scope. Interiors, door backs, exposed ends and toe kicks are separate surfaces; do not assume that an exterior painting scope includes all of them.
Can I change pulls while painting the cabinets?
Yes, hardware changes can be discussed with the painting scope. Different hole spacing or placement may require preparation before the finish and drilling afterward. Confirm fit and clearances first.
How long before I can clean the painted cabinets?
Follow the guidance for the finish actually used on your project. Dry-to-touch and curing requirements differ, and cleaning should follow the coating instructions rather than an unconfirmed universal timeframe.
